Please follow our guide below to best install your comfort tiles and if you have any queries, please get in touch.
Please follow the instructions below carefully and you will have your new tiles stuck to your wall or floor in no time!
Need more tips or help with your vinyl tile project?
Get in touch with us at help@dandeliondecor.co.uk. We are here to help bring your vision to life!
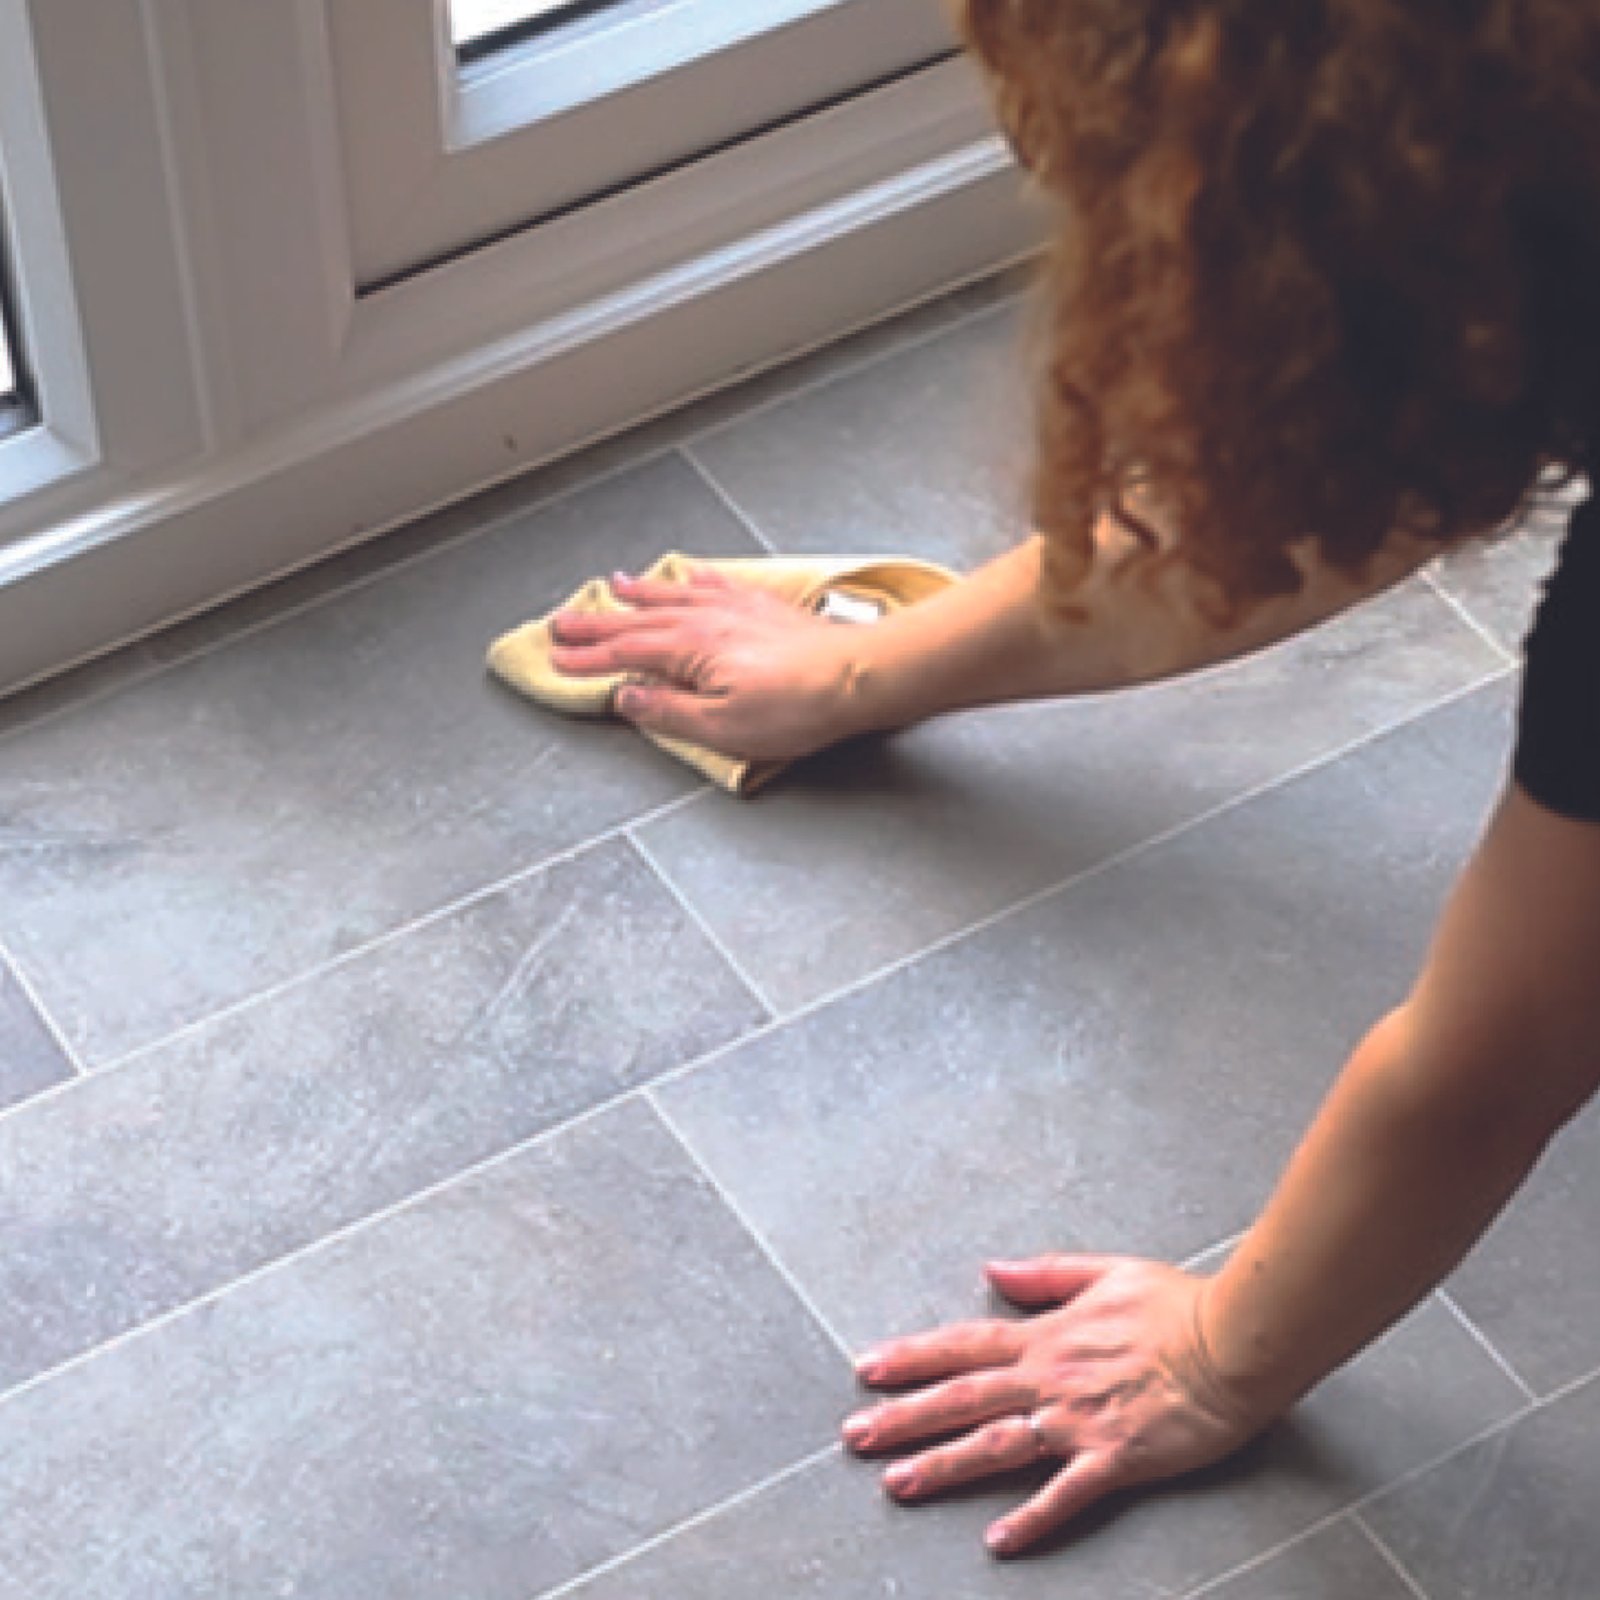
Clean the surface thoroughly to remove dust, dirt, and debris. Ensure it is completely dry before continuing.
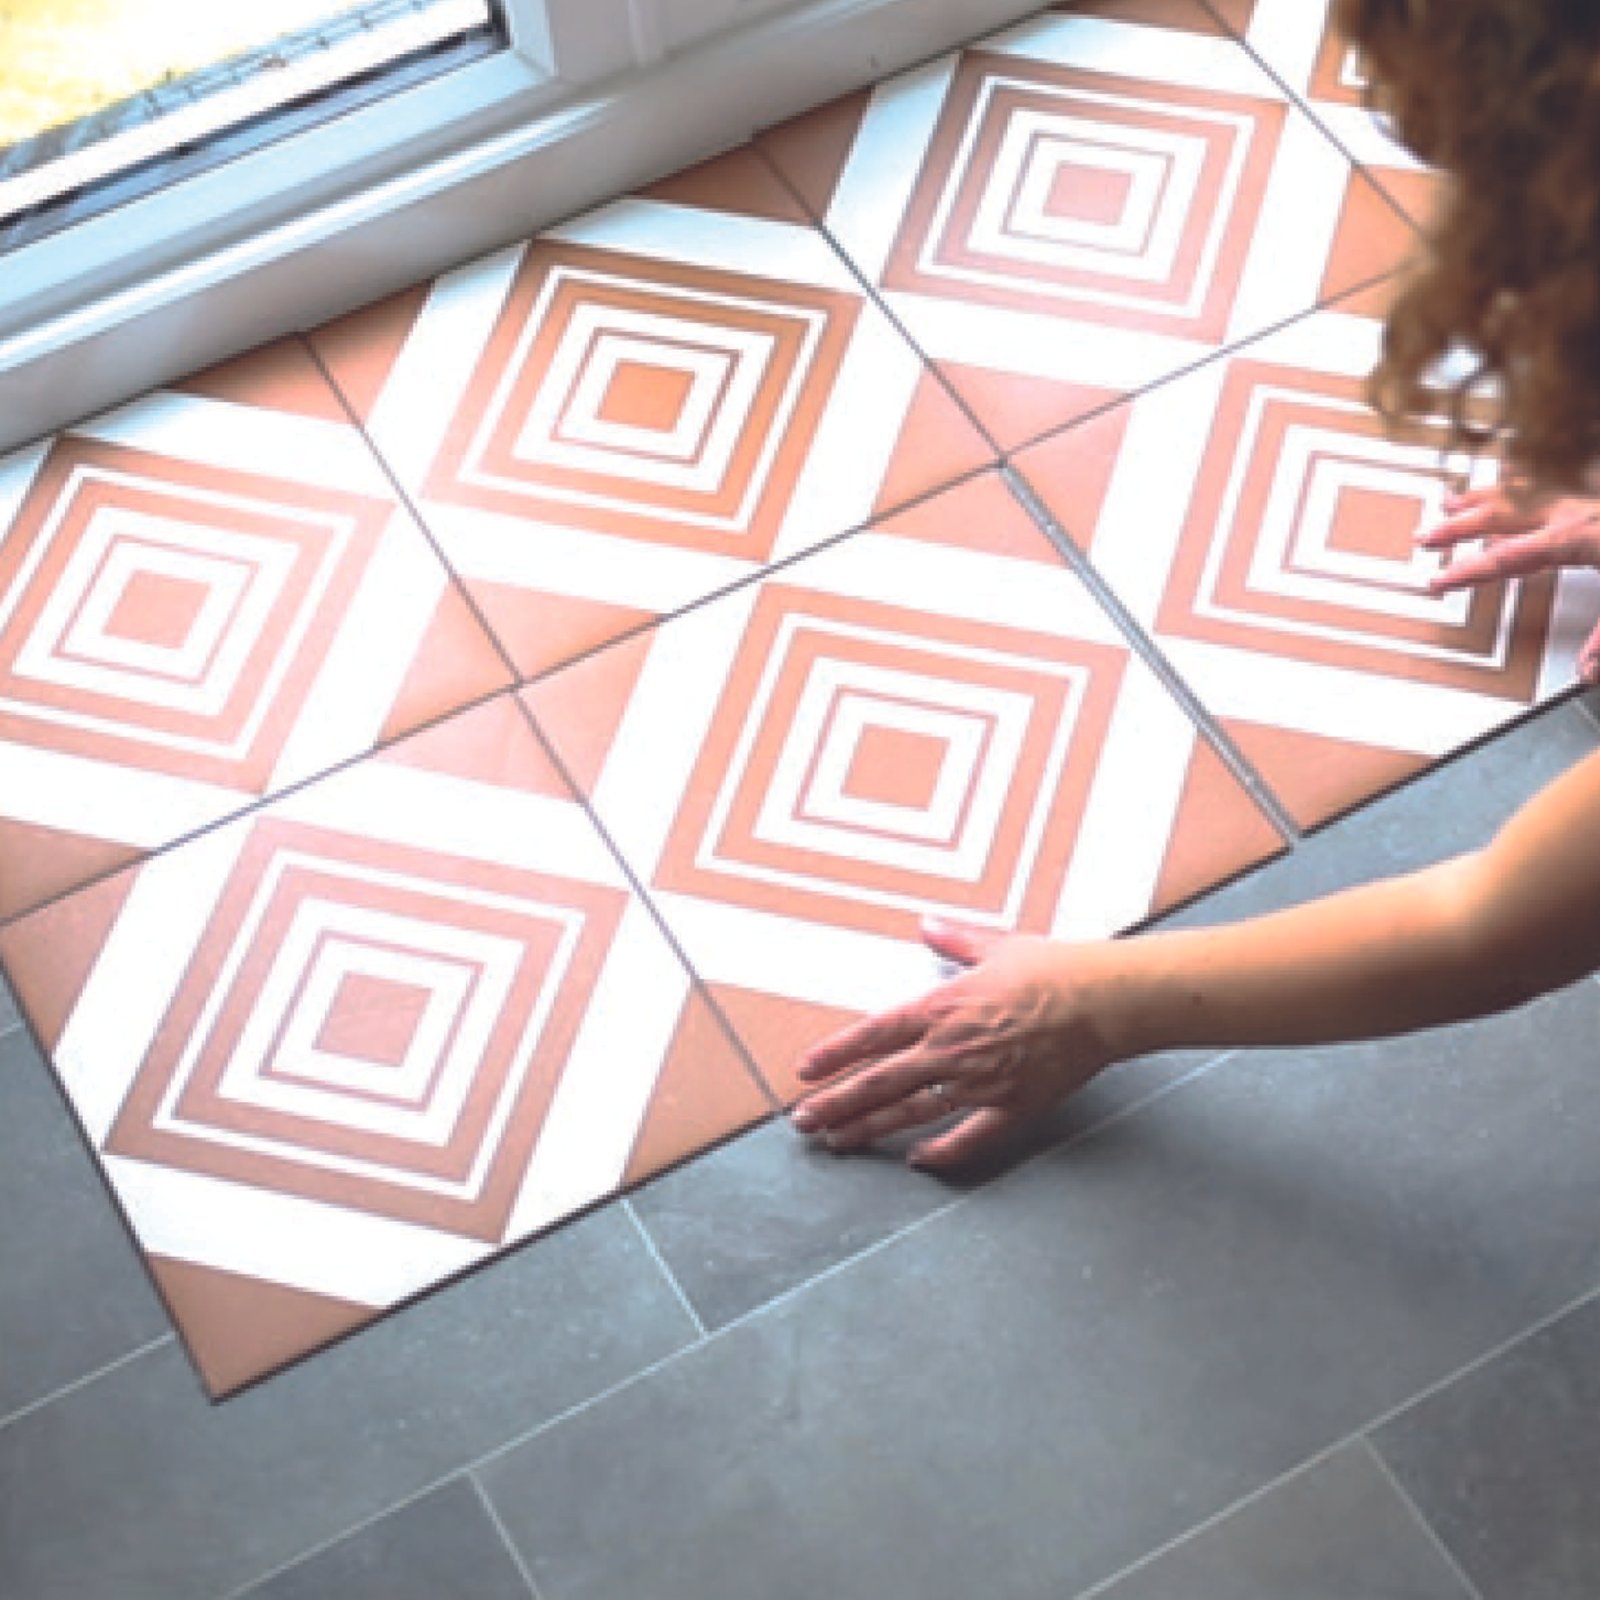
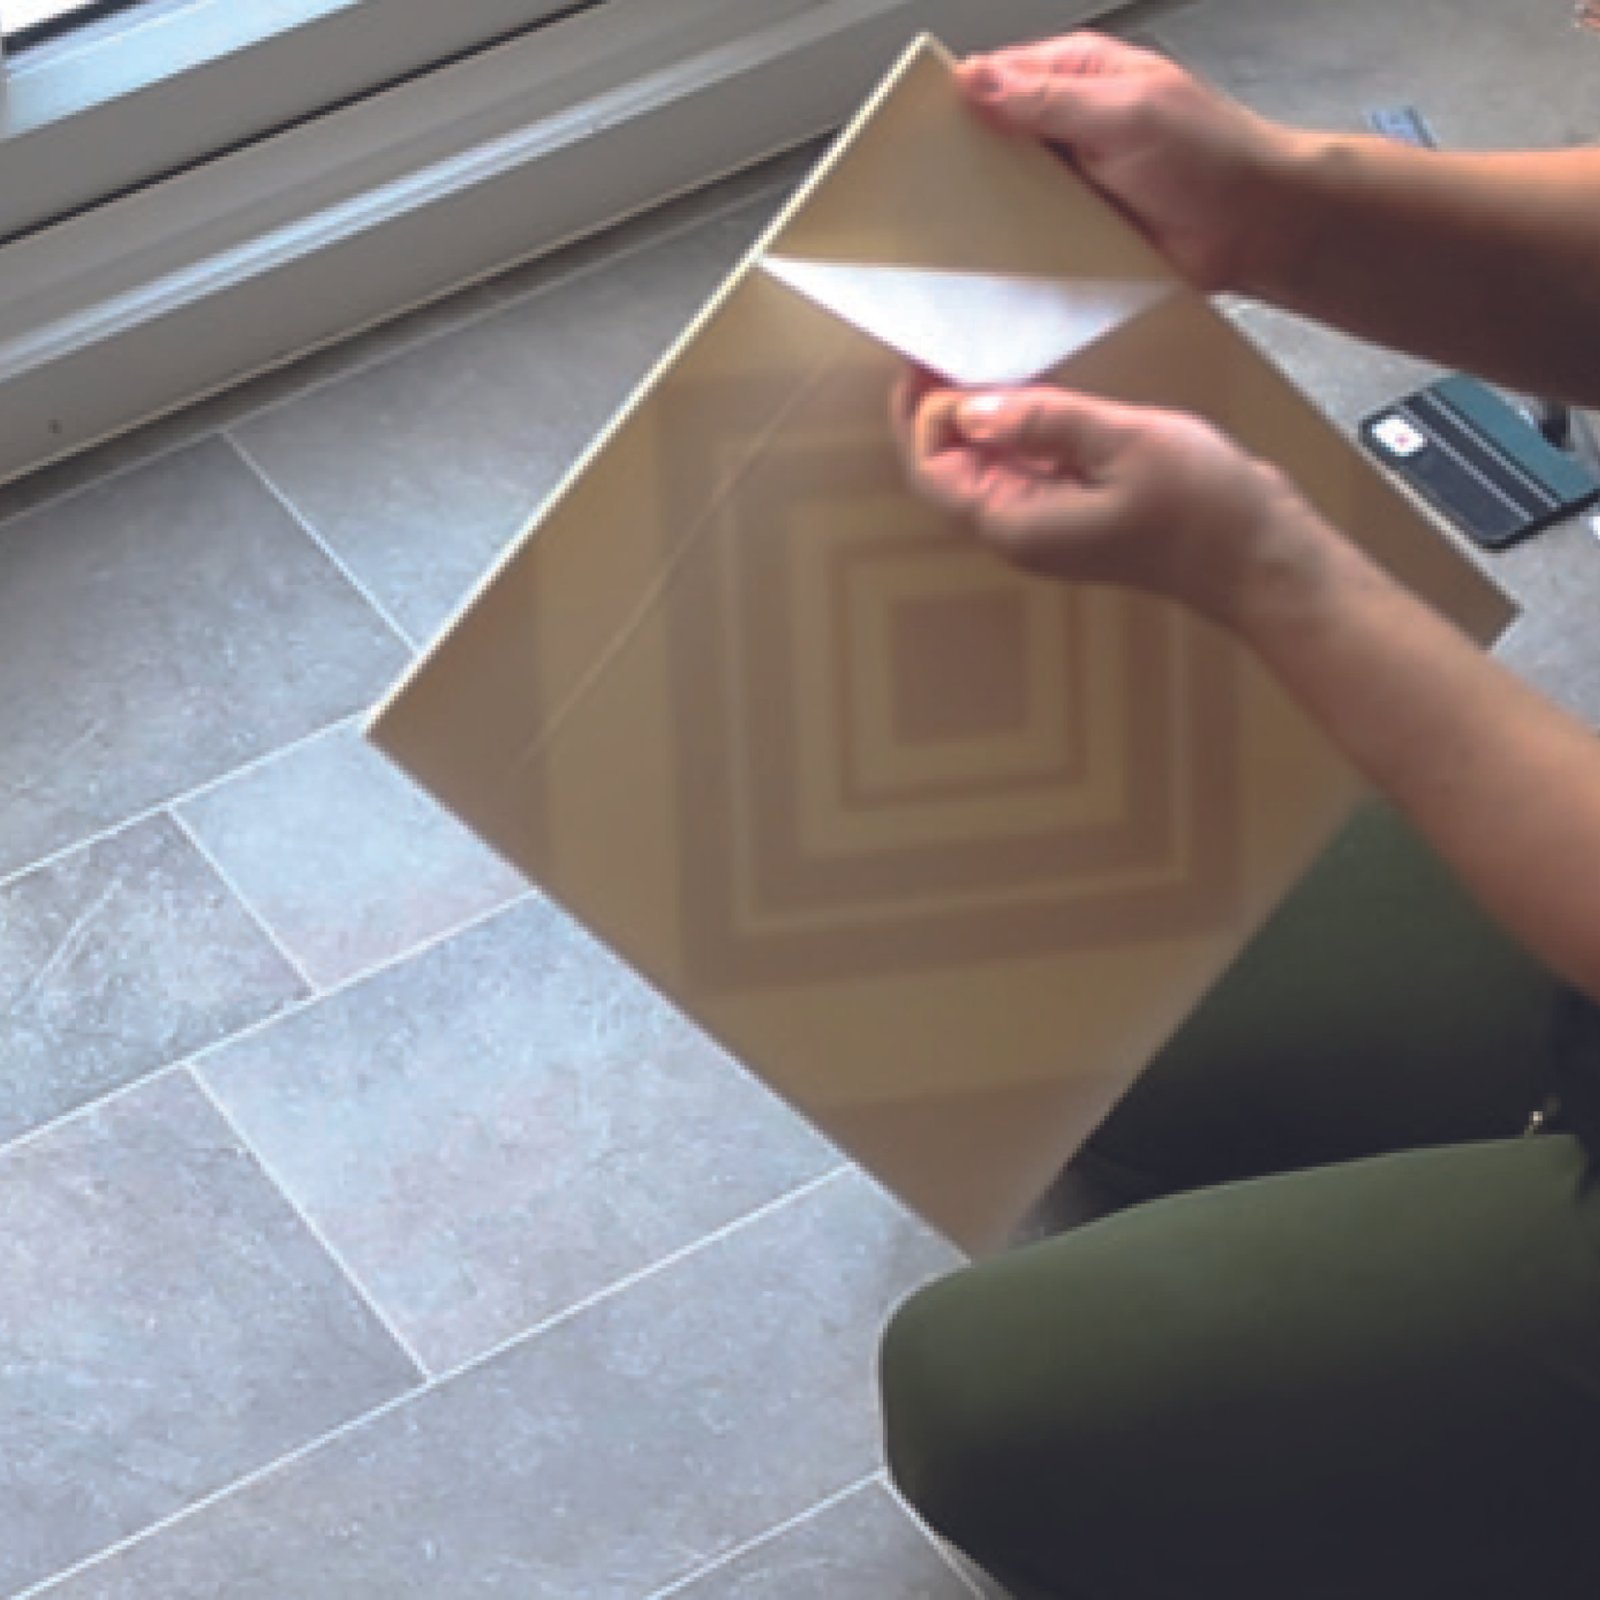
When you are ready, peel off the backing from the first tile and stick it down. Use squeeze to press it firmly into place. Then repeat - row by row, it's that easy! Make sure they line up as you go.
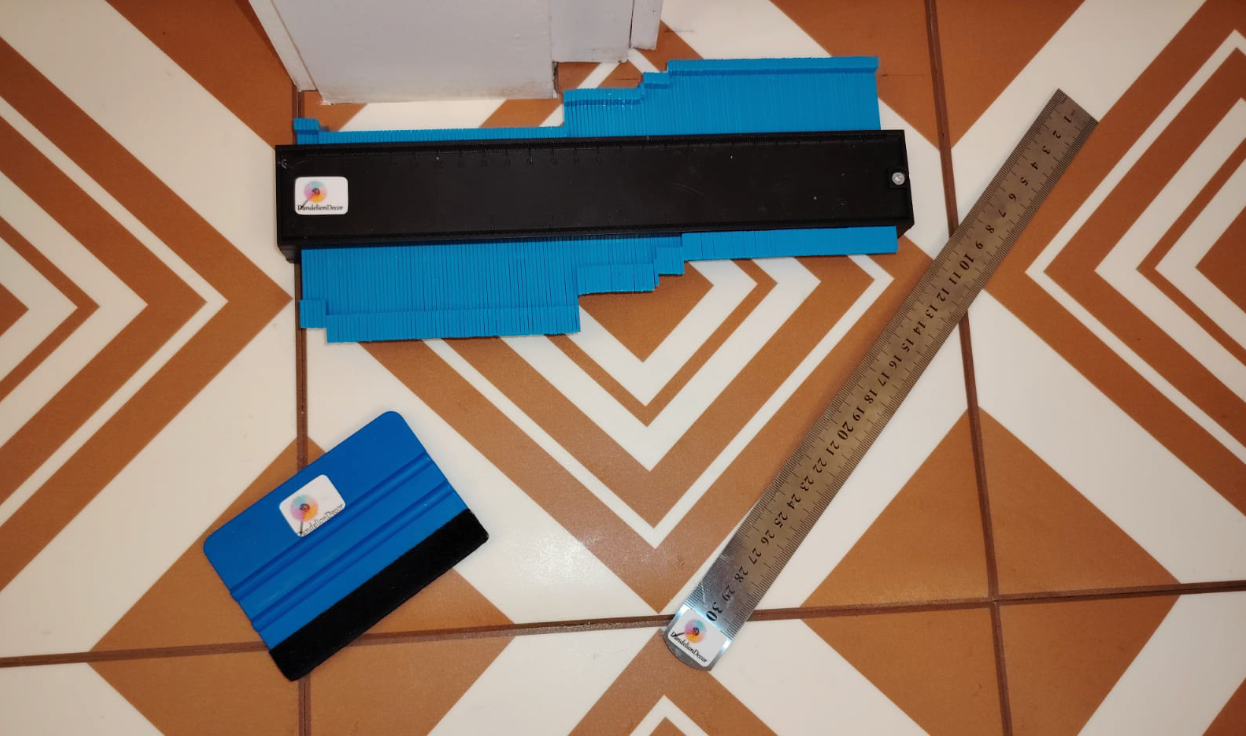
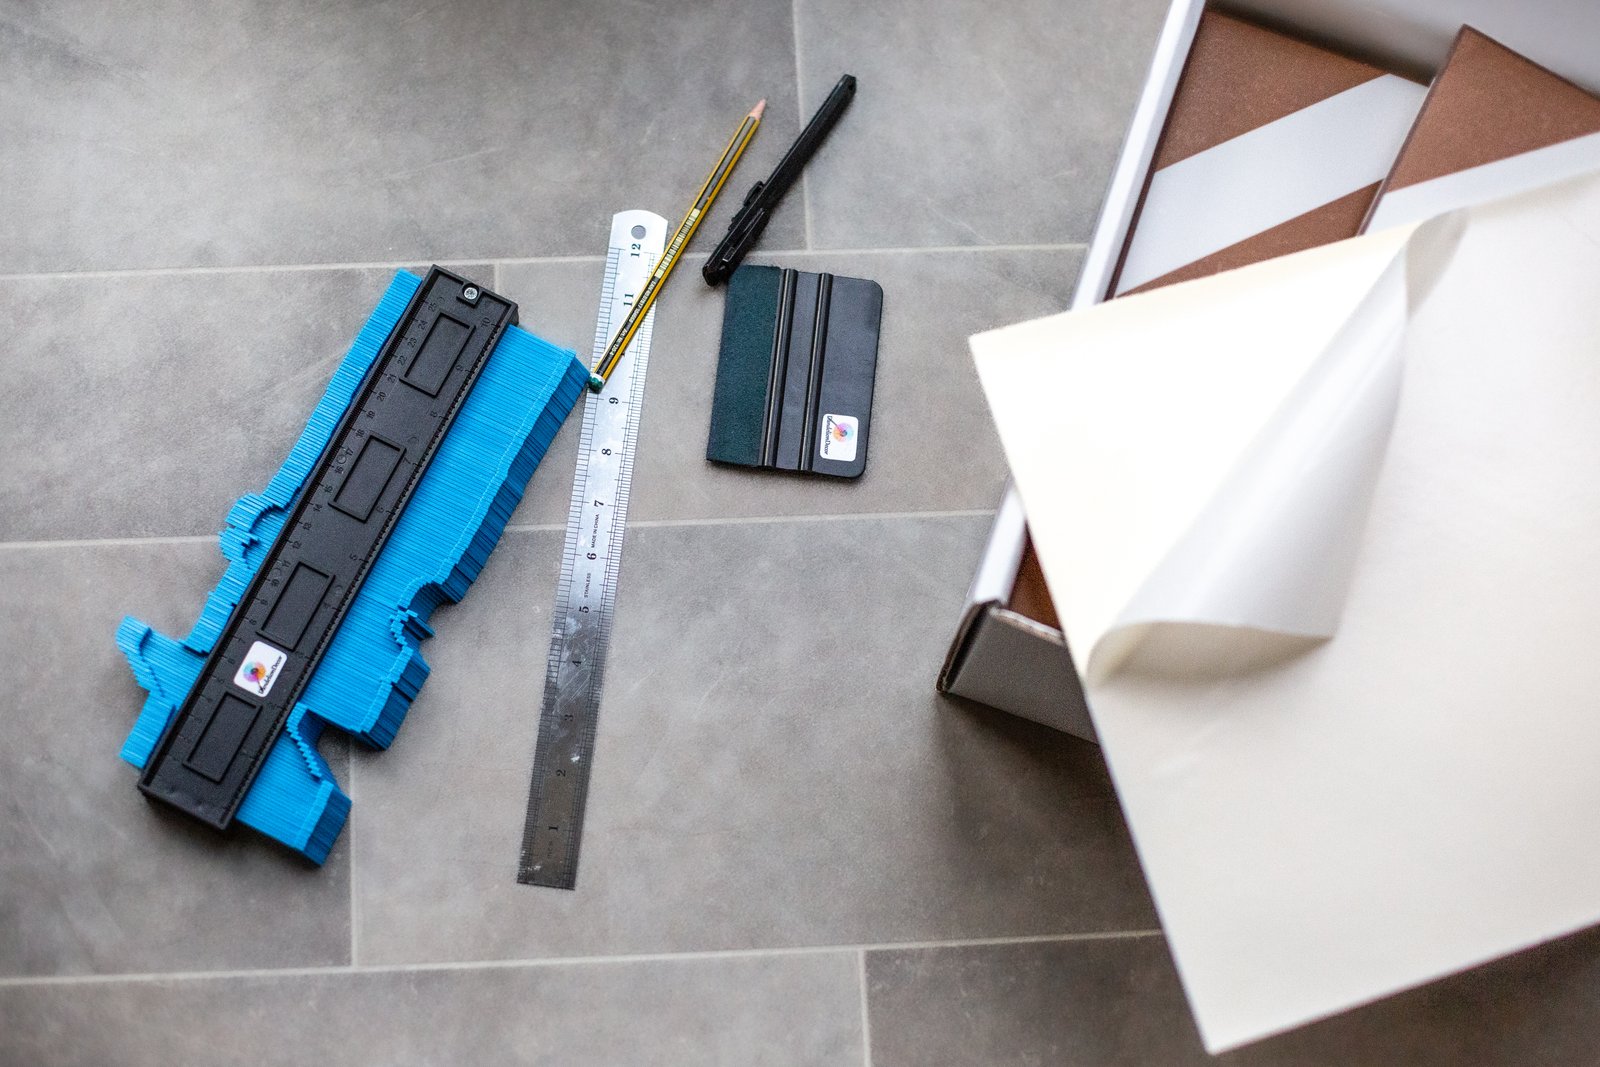
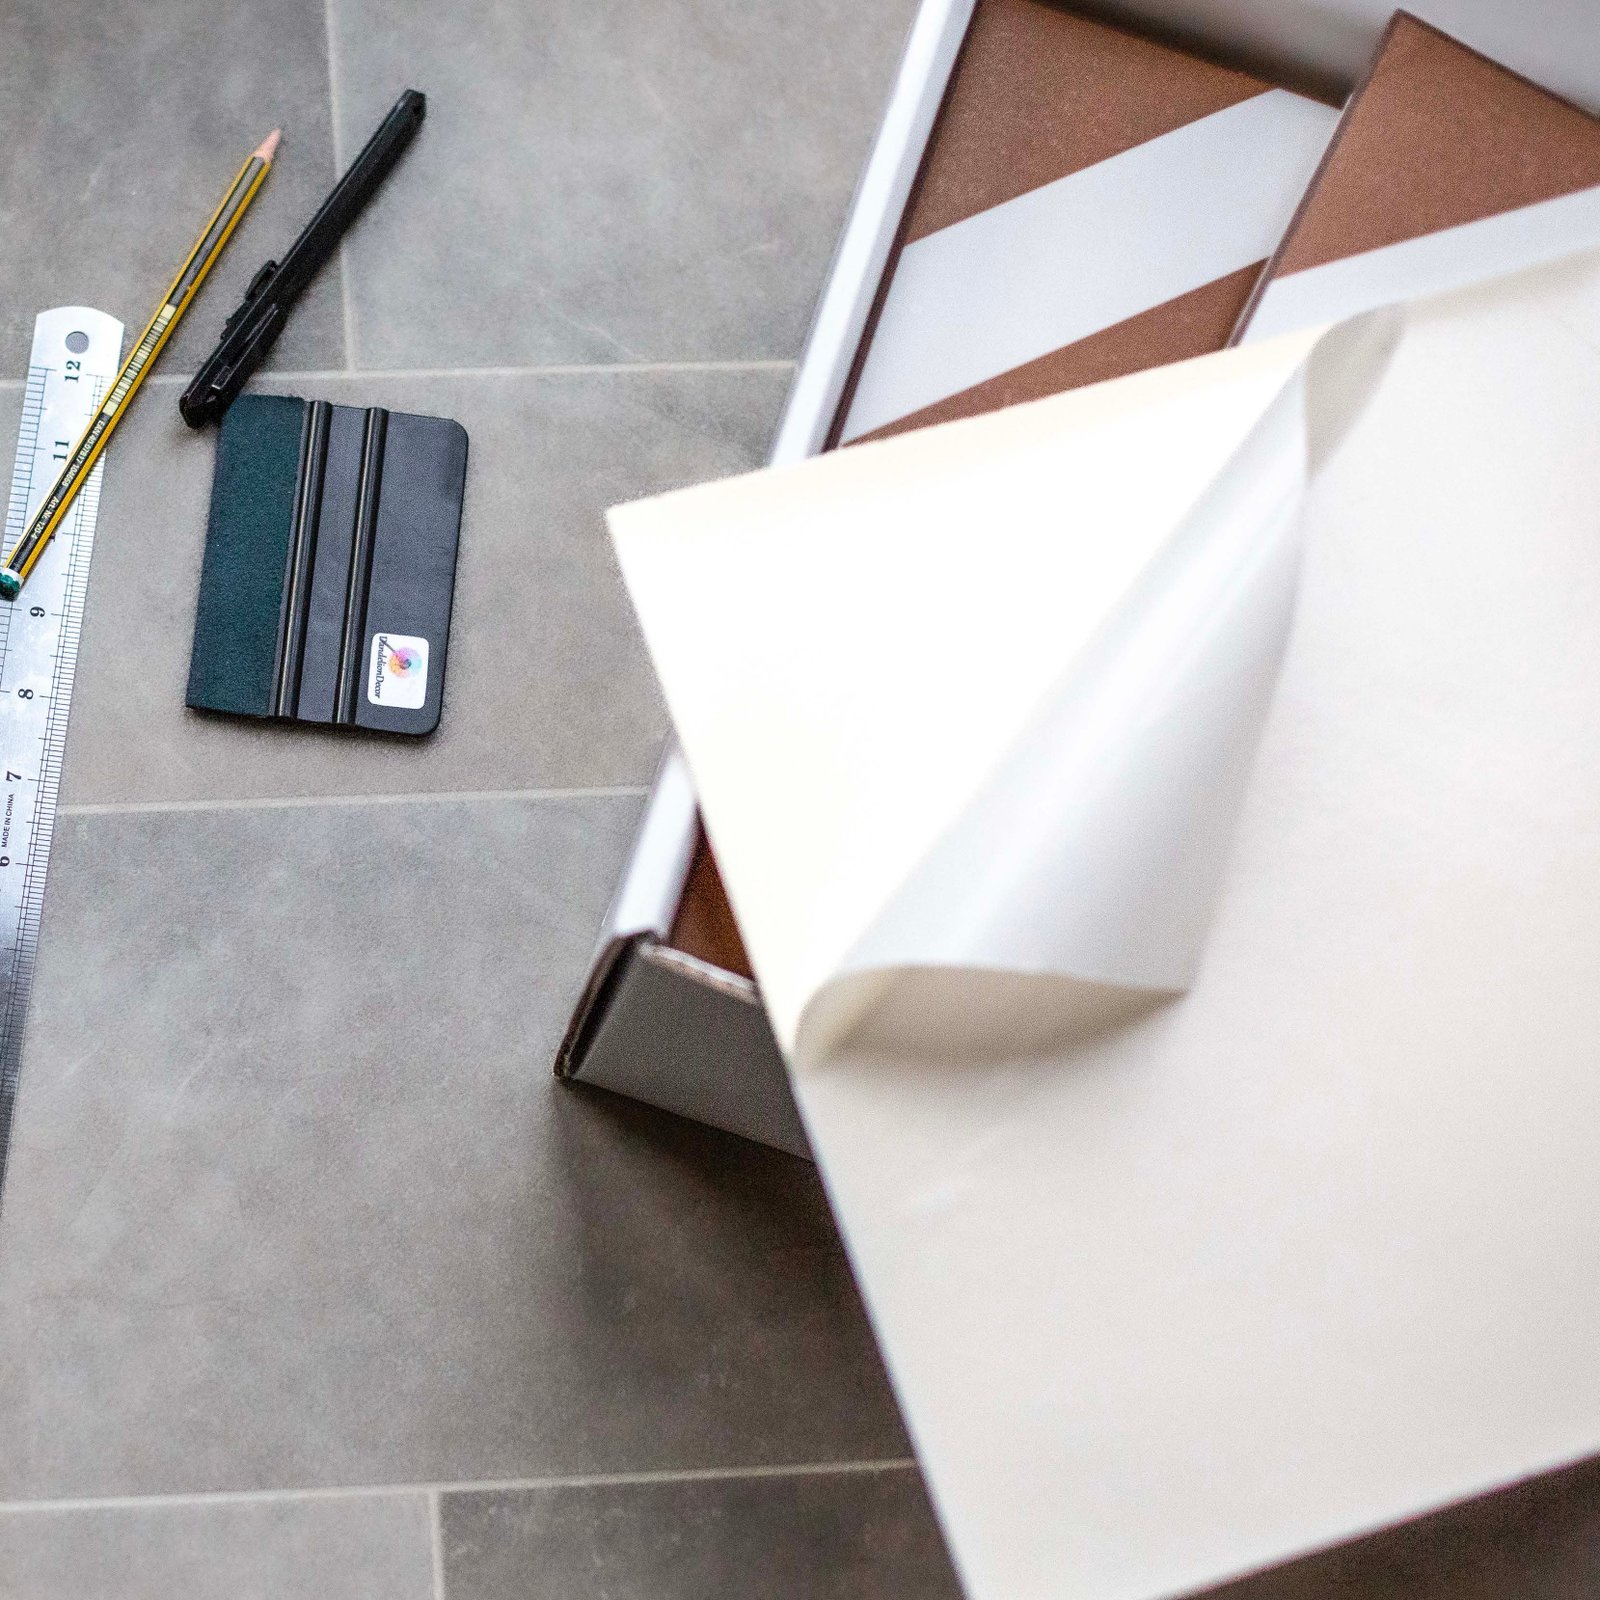
For edges or awkward spots, measure and mark the tile, then cut it to fit if needed. Accessories you’ve bought will help you get the best result.
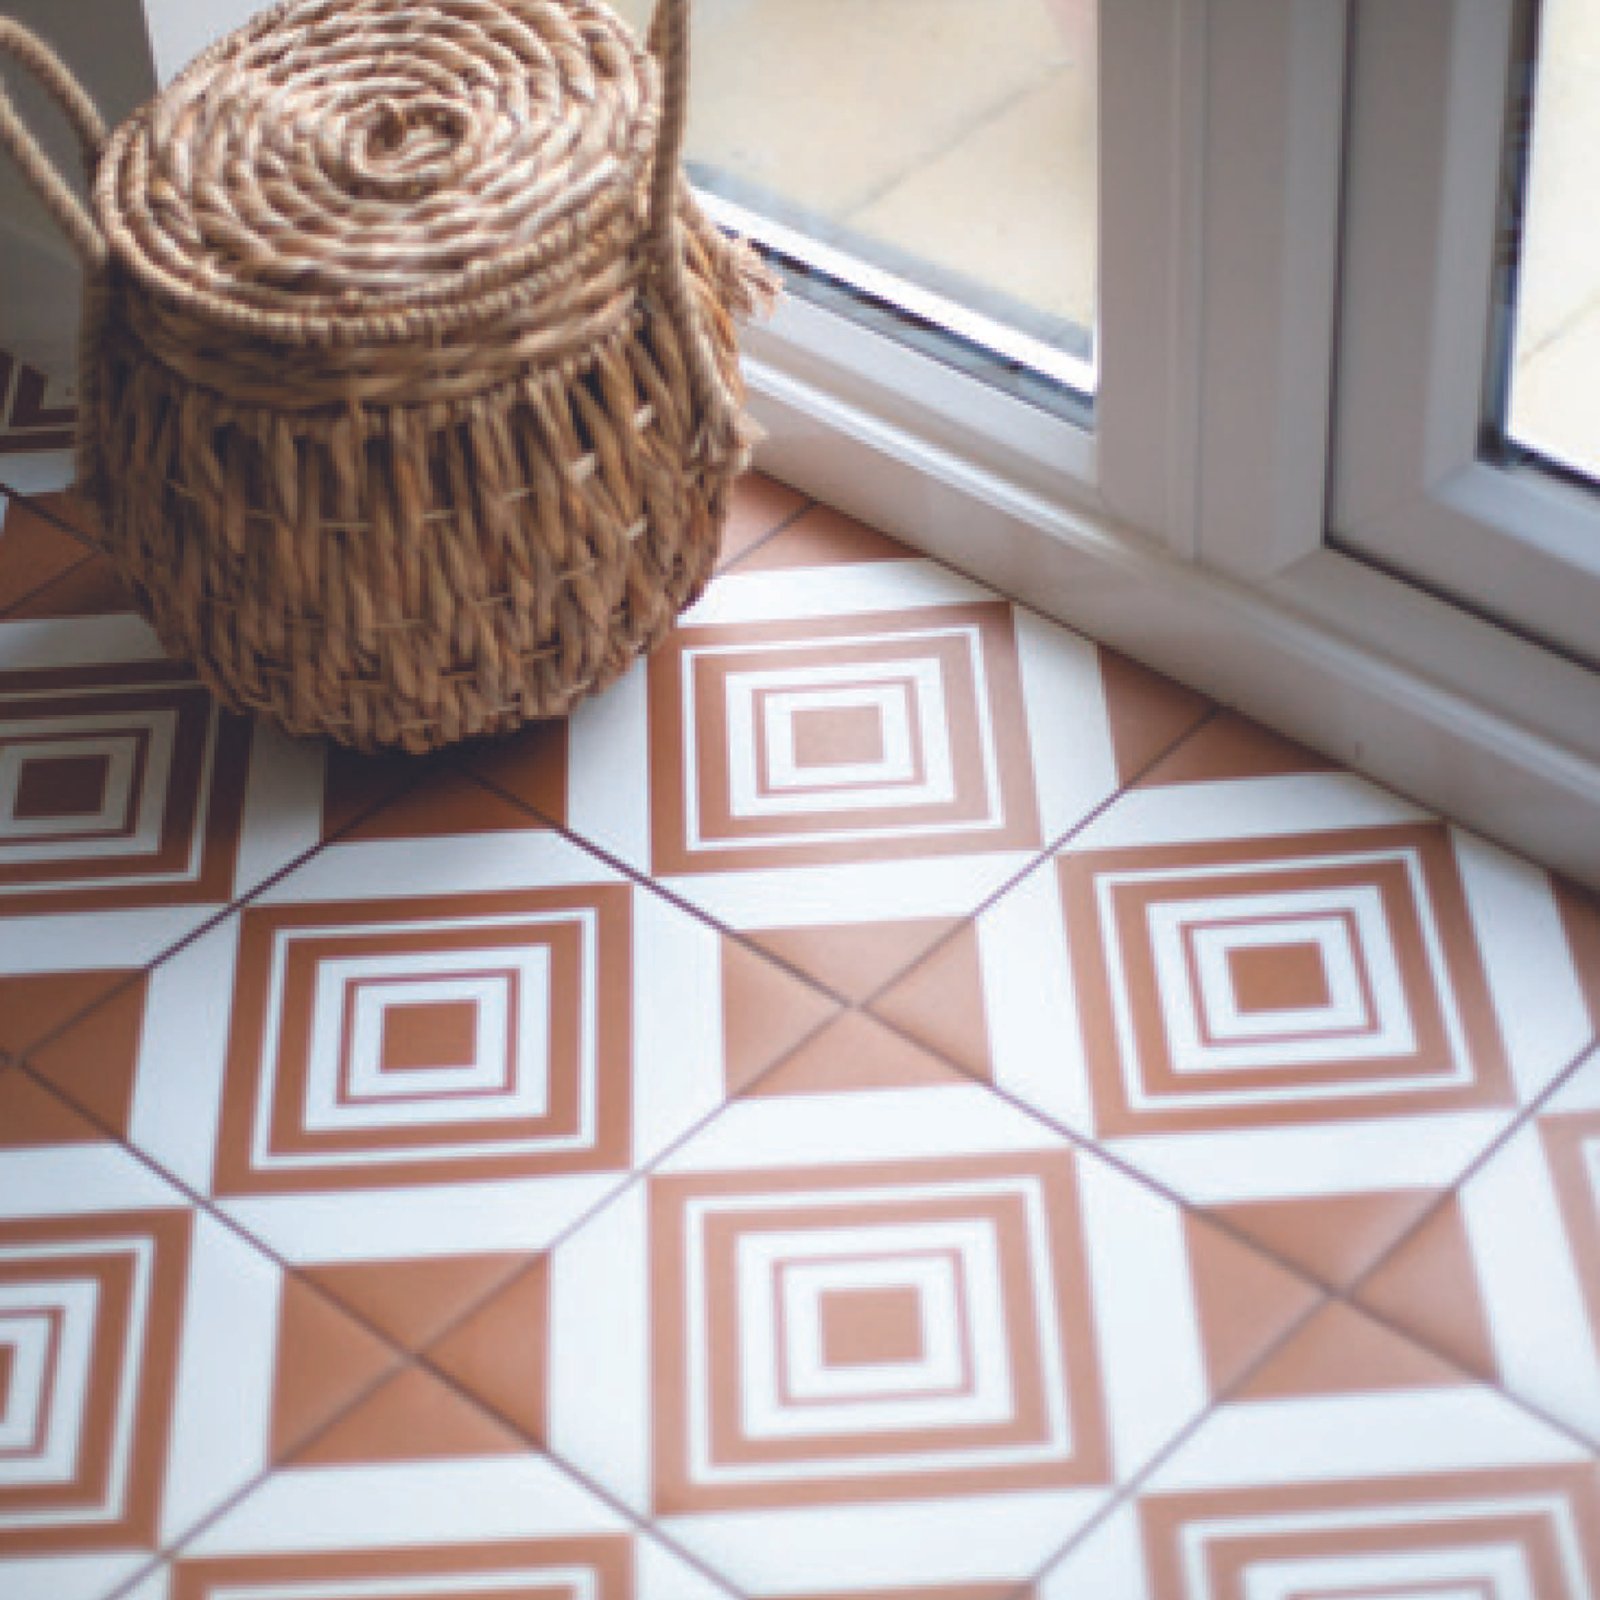
Ensure all tiles are smooth and securely fixed. For the best result allow them to set for 24 hours. You’re done — enjoy a fresh new surface on your wall or floor in no time. It’s that simple!
Tile Size
30 cm × 30 cm
Total Area
—
square metres
Tiles Required
—
tiles